

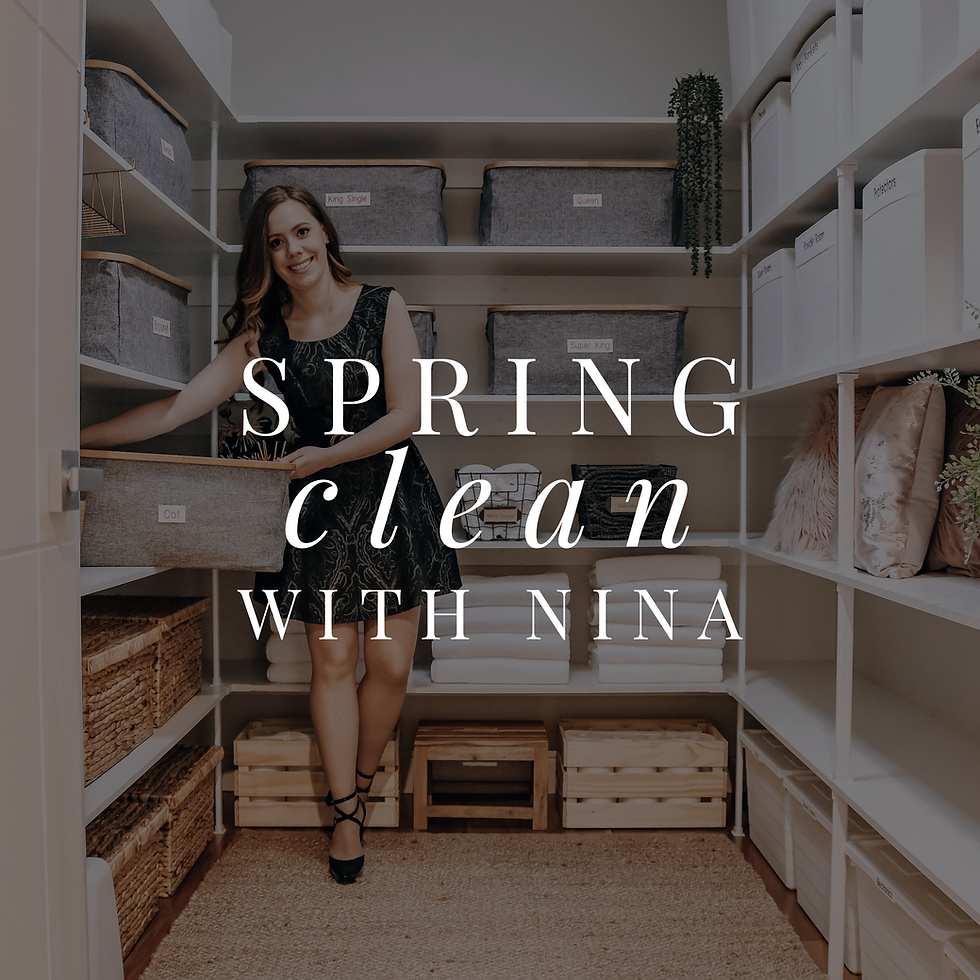
How I turned my kitchen pantry from drab to fab
- Nina Belle

- Sep 4, 2018
- 12 min read

They say the kitchen is the heart of the house. After giving birth to my little girl, I found a desire to get everything in my house organised. Not only for my sanity but to set a good example for my daughter. After all, I wanted to teach her how to be tidy, look after her things, and ultimately be productive in life.
I believe life success starts at home. Having space where you can come home every day to unwind and a place that brings joy is a priority for me. I want my daughter to also grow up to be proud of her space.
I knew I needed to be her role model.
After falling victim to weevils earlier this year, it fuelled me to ensure that all my food was well organised and stored in airtight containers. I also found that cooking became a chore that I dreaded, so organising my space and making it aesthetically beautiful brought positivity to my world and in turn, I rediscovered my love for cooking again.

Here’s 11 things I considered when organising my space:
1. Created a vision
I asked myself how I wanted to feel when I walked into my house and my kitchen. For me, it was important for me to feel calm, organised and inspired when I walked into my kitchen. I envisioned myself cooking and being able to find items quickly and with ease while cooking dinner. I imagined my family, in particular my husband, being able to go into the kitchen and find things with ease, without needing my assistance.
I believe an important first step is to get the mental image right and find out WHY you want to do it. It’s often easy to give up when you are working on a new project, but having this image in the back of my mind reminded me why I needed to keep on going to bring my vision to life.
2. Discarded items I wasn’t using
Seems pretty simple, but I pulled out everything from every crook and cranny in my kitchen and asked myself if I was using it. If I wasn’t, it went in the bin. If it was broken, it went in the bin. If I had duplicates of the same item, I asked myself how many I really needed and I gave the rest away to charity. Did I really need 30 pairs of tongs? I don’t think so! I just kept the best quality ones. Then there were items I had that just annoyed me for one reason or another, like that fancy avocado slicer that I never used, and they also got discarded.
3. Used up food
I pulled out all my food and checked expiry dates. It was astonishing how many items were expired and I had so many duplicates. Did I really need a whole cupboard of pasta? Probably not! Not only was it taking up a massive amount of space, I was only cooking pasta once a month! It just didn't make sense.
Anything that was about to expire or I needed to use up, I put it in a basket on my counter and I only cooked meals from those ingredients for the next two weeks! This helped minimise wastage and I didn’t need to go shopping for a while which was a bonus.
4. Planned out how I was going to organise the space
I then looked at the space I had and decided where I wanted to place everything. Just because something had been in the same spot for years it didn't mean it was the best location for it. I went through and used common sense to see what worked for me. I got inspiration and ideas from other people, on Pinterest and on Instagram.
It’s important to me that my bench top remains clutter free, so I moved eyesore appliances like the microwave in a cupboard which had a power outlet.
I decided I wanted to store things I used regularly at eye level and things I didn’t access much like heavy canned food (pictured below) down low. For things I don’t mind my daughter accessing like kids snacks and chips, I store down low in tubs that can be easily accessed. Things that are fragile and messy like oil and vinegar, I store higher where she cannot access.
These white tubs where I store my heavy goods are called PLUGGIS and I purchased them from Ikea in two different sizes. I heard not all stores stock every size, so you'd need to check with your local store. Each tub has a different label: stock, tuna, condiments, meal bases, milk, cake mixes, tomato sauces, legumes and canned food. These pink labels were also purchased from Little Label Co. For backstock I store behind each container.

I also store things that the family accesses on a daily basis in a cupboard that’s closer to the living area as it's more convenient for them (pictured below). These plastic tubs I purchased from Aldi for around $6 each. They are lightweight and have wheels so they can be rolled out.
Each tub has a label to help everyone identify what is inside: health foods, confectionery, cheesed crackers, crackers, corn chips, rice crackers, chips, popcorn, kids chips and kids snacks. If you are looking for similar tubs I believe Kmart also stock clear pantry storers for $10.

Again, the lower shelves is where I store anything Little Miss needs easy access to like her popcorn, chips and snacks. The vinyl labels I purchased from Little Label Co, and I am really happy with them.

5. Categorised items
I grouped similar items together like cans, baking supplies, pastas, grains, rice, herbs etc. I didn't want to have multiple places for the one item! It makes it difficult to see how much of something I had and I'd often get overwhelmed trying to find an item. Removing packets saved room and time scrambling to find things.

6. Gave everything a ‘home’
I made sure everything had a specific spot! This is why I love using labels because I am able to label the area so I know exactly where it should go back to. I am a firm believer that everything should always go back to its ‘home'. This is when my addiction to labelling everything started. I realised that I knew what was in each container, however, it was not so easy for the rest of my family to be able to identify different types of foods.
To ensure that it was easy for everyone I ensured each container was labelled. I discovered some beautiful vinyl labels too in funky fonts and colours which helped create a beautiful aesthetic. Sometimes it’s just all in the details. If you're on a strict budget you don't need to splurge on labels. You can write directly on the container with a marker, or you can make your own labels at home.
TIP: Used by dates can be written on the back of the container with a whiteboard marker (this easily washes off) or you can cut out the product's label, being sure to include the use-by stamp and slip it into the jar.
For this section of my pantry (below) I purchased these white SOCKERBIT boxes from Ikea and used the same contact I used to cover the back of my pantry wall to make little cards. I then transferred my vinyl labels which I purchased from Little Label Co onto the cards.

7. Purchased containers
The next step was to decide how I wanted to organise my food, and in what type of containers. There are many things to consider when purchasing containers. Glass, plastic or ceramic containers? There are pros and cons of using glass and plastic containers.
Airtight?
If you’re storing perishable foods you MUST invest in airtight containers. Yes, it is often expensive purchasing good quality containers, but it is an investment.
BPA free? Most containers now days are BPA free. But if you’re planning on re-using old containers I would check that they’re BPA free. If they’re not, I’d discard them and purchase new ones.
Shape? If space is tight, opt for square shapes over round as they sit snugly against each other and make the most of the available area.

Glass?
Glass containers are visually beautiful and much better for the environment, but if you are planning to store them up high they can get a little bit heavy once they are filled with food. If you have children that seem to always make their way into your pantry, glass might be a concern for you.
Ceramic?
Not only are ceramic containers fragile, they are not see through, so you cannot see how much you have left of something. This may be an inconvenience for you if you want to quickly see at a glance how much of something you have. Otherwise, you'd need to go through every canister to check which is not only time consuming but annoying.
Plastic?
Plastic is practical, light weight and great for small spaces. I opted for plastic as I was planning to store my containers up high and didn't want to have to reach for a heavy glass container. I also didn't want to run the risk of Little Miss causing an accident with them as she likes helping me a lot in the kitchen. I didn’t have a whole lot of space to work with, so I liked how many of the plastic containers are easily stackable.
I love clear BPA-free plastic as it helps me when I check my inventory each week, as this is part of my meal-planning routine. Knowing what's in there is the best way to make sure I am cooking and eating what I already have and helps me avoid buying multiples of the same thing.
I chose the 1 litre containers (below) from The Organising Platform to store all my dry food as they ticked all the boxes. They even provided me with round labels as well which was a bonus as it saved me money as I didn't have to order separate labels.
Anything I was pickling, like olives, I used the 3 litre glass canisters I purchased from Kmart.

Unfortunately at the time of purchasing my containers, The Organising Platform only stocked their one litre containers, and I needed larger ones to store flour, pasta and other bulkier foods. Their 2.3 litre containers were not yet available, so I purchased my larger containers from Kmart as they matched The Organising Platform containers. They both have the same kind of shape and white push close lids.
The Kmart push close containers are very cost effective and they offer a variety of sizes which is very convenient. However their seals aren't the best quality. In saying that I haven't yet had an issue with them, and they've been keeping my food fresh. I just suggest that when you are purchasing them from Kmart you check each container manually as there seems to be a high amount of broken lids, or lids that do not seal properly.
If budget is not a concern for you, I would recommend purchasing better quality containers. I am currently on the wait list for the 2.3 litre containers from The Organising Platform and I hope to replace all my Kmart containers in the near future. They are very good quality and open/close with ease.

8. Made use of household items
I already had some items which I re-used for my pantry, for example, the lazy susans I keep my oil and vinegar pourers on.
Using household items can be an inexpensive way to add even more storage to your pantry. You can use crates, baskets, space-saving racks, pencil holders, magazine racks, buckets, drawers, lazy susans, spice holders, drawer dividers etc.
TIP: Measure your space before going out and buying things! I can't stress this enough, otherwise, you'll be making too many unnecessary trips to the shops.

To store my oils and vinegars I use these stainless steel pourers which I puchased from Ebay. What attracted me to these was the fact that they were available in many different sizes. So I use a mixture of 250ml, 500ml and 1 litre sizes. For vinegars I don't use often I pour them in the 250ml, and for oils I use larger quantities of, for example, vegetable oil, I store in the larger sizes as I didn't want to have to regularly refill them.
I keep these on a lazy susan for easy access! It's super easy to find which one I need!
I also purchased vinyl labels from Little Label Co to label these, as well as for the glass jars where I store my olives in. These are the 3 litre clip glass jars from Kmart.

TIP: The inside of the cabinet door is the perfect storage space for the items that you use often and need quick and easy access to. Anything that's not too bulky on the inside of the door (so as not to weigh it down and make it hard to open). Examples: boxes of aluminium foil and freezer bags, school snacks, cooking tools and more. This is a very easy DIY project to tackle on a weekend or even a weeknight. All you need is an over-the-door storage solution (a shoe rack works nicely) and a few tools.
I personally didn't want to screw any nails into my expensive kitchen cabinetry, so I haven't utilised cabinet door storage. I have plenty of drawer space so I store the items I use regularly in the top drawer of my kitchen.
9. Storing things not used often
I used plastic boxes with lids to store things I don't use often but wanted to be kept together. Things like baking supplies, iceblock moulds, birthday candles, entertaining spoons etc.
Baskets and containers are also good for this. I gathered everything up, popped it into small and large KUGGIS containers from Ikea, labelled it and stored on a high shelf so everything is kept in one place and I am able to find things with ease.

I also buy multiple of the same items when they are on sale, and like to keep a stash of them on hand for when I run out. Things like spare bin liners, aluminium foil, baking paper, paper bags and plastic wrap.

10. Herbs and spices
There are so many creative ways to store your herbs and spices! Just take a look on Pinterest! I wanted to place my herb and spice jars on this shelf as I wanted them to be a feature when I walked into my butlers pantry. So I installed two stainless steel EKBY MOSSBY shelves (pictured below) which I purchased from Ikea on the wall in my butlers pantry above the sink.
I purchased these U-Pack French Square Glass Spice Bottles 6 oz Spice Jars (pictured below) from Ebay. What I love about them is how practical they are. They each come with a removable shaker lid that can be attached to the top to allow you to sprinkle or pour. You can also remove the shaker lid and still fit a teaspoon inside if needed. The shape is also great for small spaces as they can be stored side by side more compactly than round jars. Even though the spice jars came with labels I decided not to use them, and I purchased custom spice labels from Little Label Co in metallic silver instead.

But there are so many other ways you can store herbs and spices:
transfer them into small stackable containers
place the jars on a tiered shelf
use magnetic containers. However, I personally didn’t want to start drilling into the inside doors of our expensive cabinetry to mount the magnetic strips.
There are spice organisers you can get to insert into drawers.
Put them into containers or inexpensive baking trays instead. Simply take a few jars along to the kitchenware shop to make sure they fit – then stack them in the pantry.
If you don’t use many herbs and spices, buy them in packets rather than jars and then store them in an alphabetically indexed CD box.
11. Make it pretty
For me the aesthetics of the space was super important. I wanted it to be visually appealing so I felt good every time I was cooking. So that is why I invested in pretty labels and quality storage solutions.
To add my personality and flair to the space I purchased some pink vinyl kitchen contact from Ebay and covered the back of my pantry wall with it. To apply it we filled a spray bottle with soapy water and sprayed it to the back wall and then applied the contact. It was much easier to apply this way as we were able to position and move the contact around easily. We then used a credit card to smooth it out to ensure there were no bubbles, and allowed it to dry overnight.

Quick List of where I purchased everything from:
1 litre plastic push close containers - The Organising Platform
Larger plastic push close containers (various sizes) - Kmart
Glass round canisters 3 litres - Kmart
Round labels - The Organising Plaform
All other labels - Little Label Co
Large PLUGGIS white tubs for canned foods - Ikea
Small PLUGGIS tubs for food storage items - Ikea
Small SOCKERBIT kitchen tubs for baking and other items - Ikea
Large KUGGIS containers with lids - Ikea
Small KUGGIS containers with lids - Ikea
Variera open containers - Ikea
Clear pantry storers for loose food - Aldi (no link available)
Vinegar and oil pourers - Ebay
Stainless steel shelves - Ikea
Herb and spice jars - Ebay
Pink contact - Ebay
Lazy susan - purchased years ago from Peter's of Kensington
Since posting up a few photos of my pantry on Instagram, I’ve received so many questions from people who are wanting to revamp their pantries. So I hope this inspires you to start the process. Good luck and feel free to pop me a message on Instagram if you want to chat! I literally live on my instastories!
***EDITED: SINCE PUBLISHING THIS BLOG POST I HAVE REPLACED ALL MY KMART CONTAINERS WITH PUSH CLOSE ONES FROM THE ORGANISING PLATFORM.
Much love.
Nina
xx


Comments